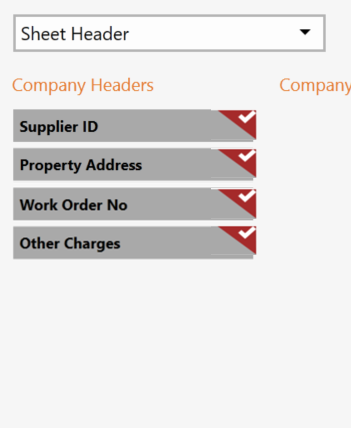
To add Palace export connector, four Company Header fields need to be created first.
Create Company Headers
Select Settings and then the Header tab

Create Supplier ID Field
Click the Company Headers "+" icon

Enter a Header name "Supplier ID"


Click the "+" to add a Reference Header

Select "GST Number" and click the tick at the bottom right hand corner

Click to the tick to save the Field

Create Work Order No Field
Click the Company Headers "+" icon

Enter a Header name "Work Order No"

Change the Data Type to a "String"

Click to the tick to save the Field

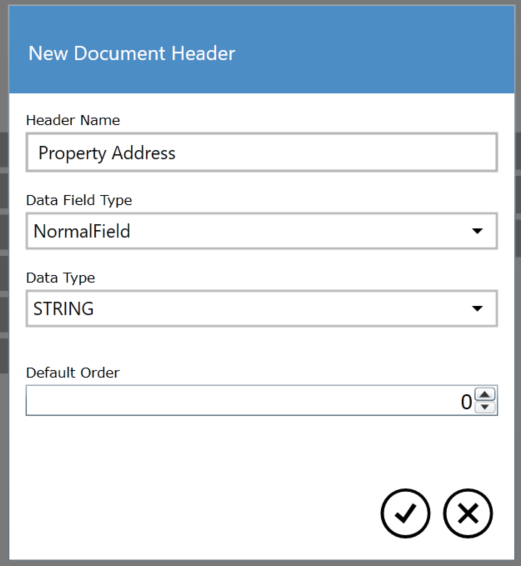
Create Property Address field
Click the Company Headers "+" icon

Enter a Header name "Property Address"

Change the Data Type to a "String"

Click to the tick to save the Field

Create Other Charges field
Click the Company Headers "+" icon

Enter a Header name "Other Charges"

Change the Data Type to a "Decimal"

Click to the tick to save the Field

Set up Palace Connector
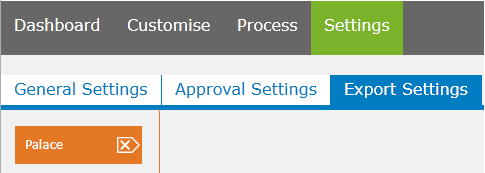
Select the Export tab then click on the "+" button located on the top right hand corner


Select "Palace" and click the tick button.

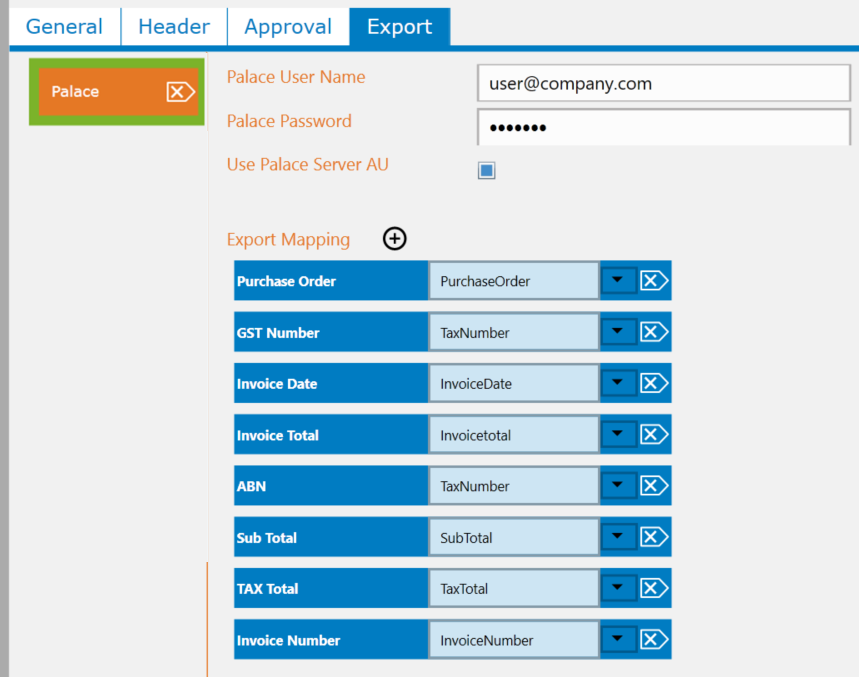
Palace export connector will be shown as part of the list in the left hand, click on it to see the configuration window.

Configure the connection details and map the fields
The following fields are displayed by default,
Enter your Palace login details. Typically these are an email address and the the standard user login.

Click on "+" button, to add the additional fields. Select all of the Company Header fields

Map the new fields by selecting the appropriate Palace mapping from the drop down

Save the settings

Set Palace as the Default Export
If Palace is to the default system to export invoices to, then select the General tab.

Select Palace from the drop down list in the Default Export field

